Begin with the whole piece
Take a clear photo from far enough away to show the complete chair, sofa, seat or cushion. Add a second angle when it helps explain the shape. For an automotive project, show the relevant part of the interior as well as the individual surface. Use even light and avoid filters. Move loose belongings out of the frame when practical; the upholstery should be easy to see without guessing what is behind it.
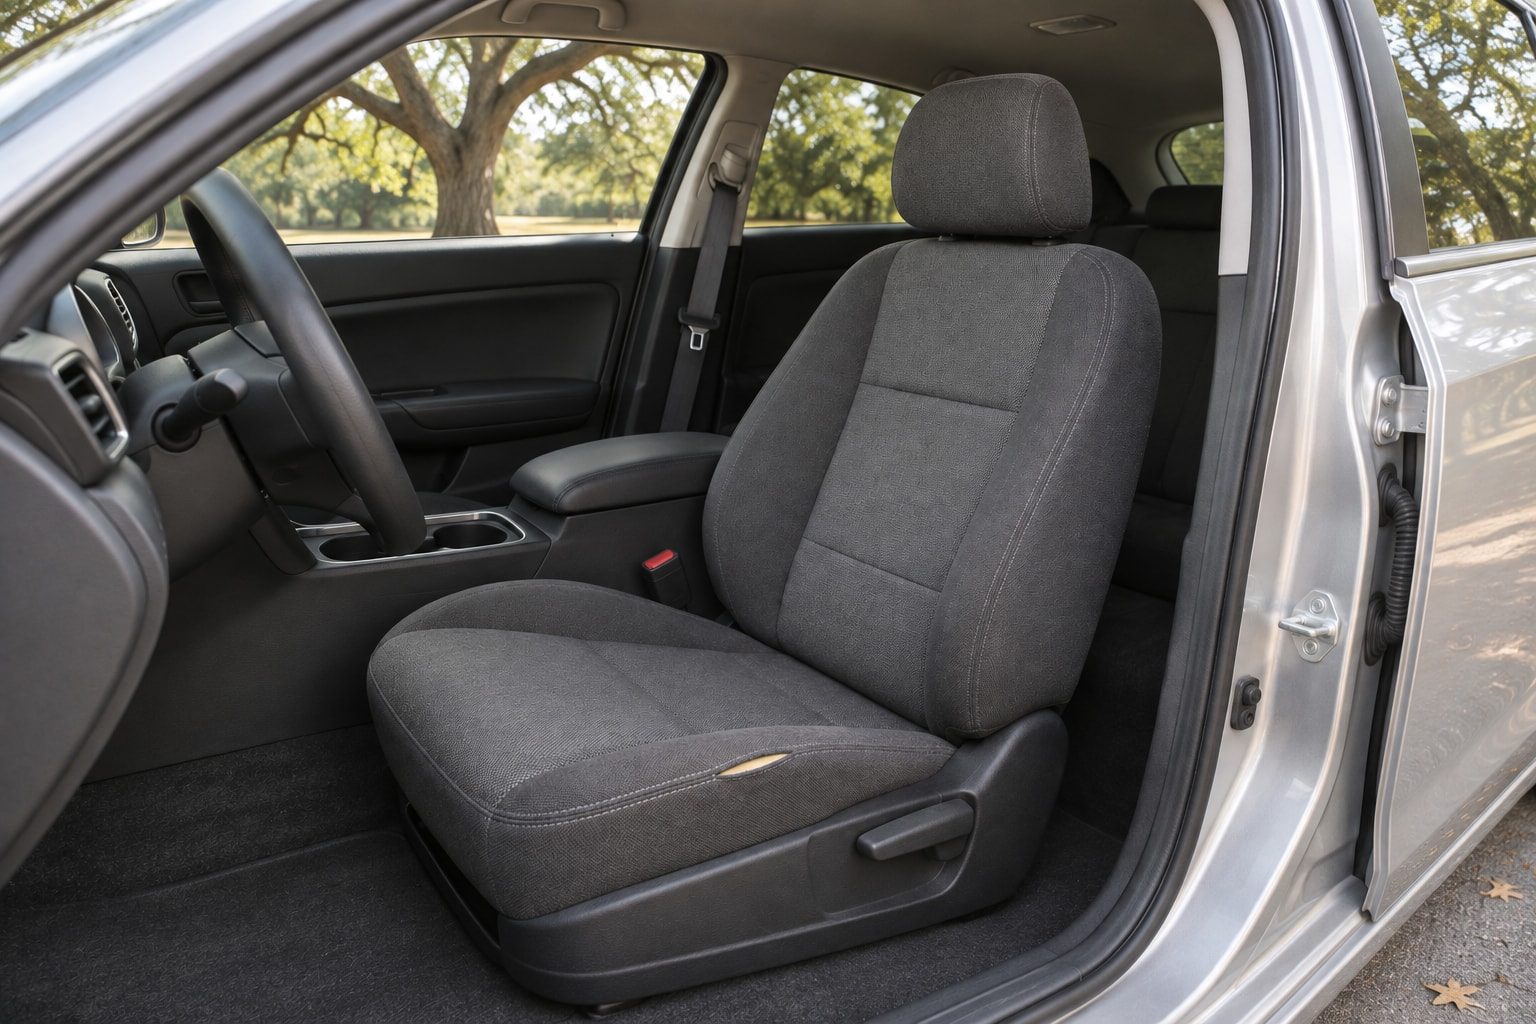
Keep the cushion, backrest and headrest in view, with enough of the surrounding interior to show where the seat belongs. The next examples show this same seat.
Move closer to the problem
Photograph each damaged area close enough to show split stitching, a tear, worn texture or a collapsed cushion shape. Include some undamaged material around it for context. If several seats or cushions have different issues, give each one its own photo. For a sagging headliner, include the wider roof area and a closer view of the affected section from a safe position inside the parked vehicle.
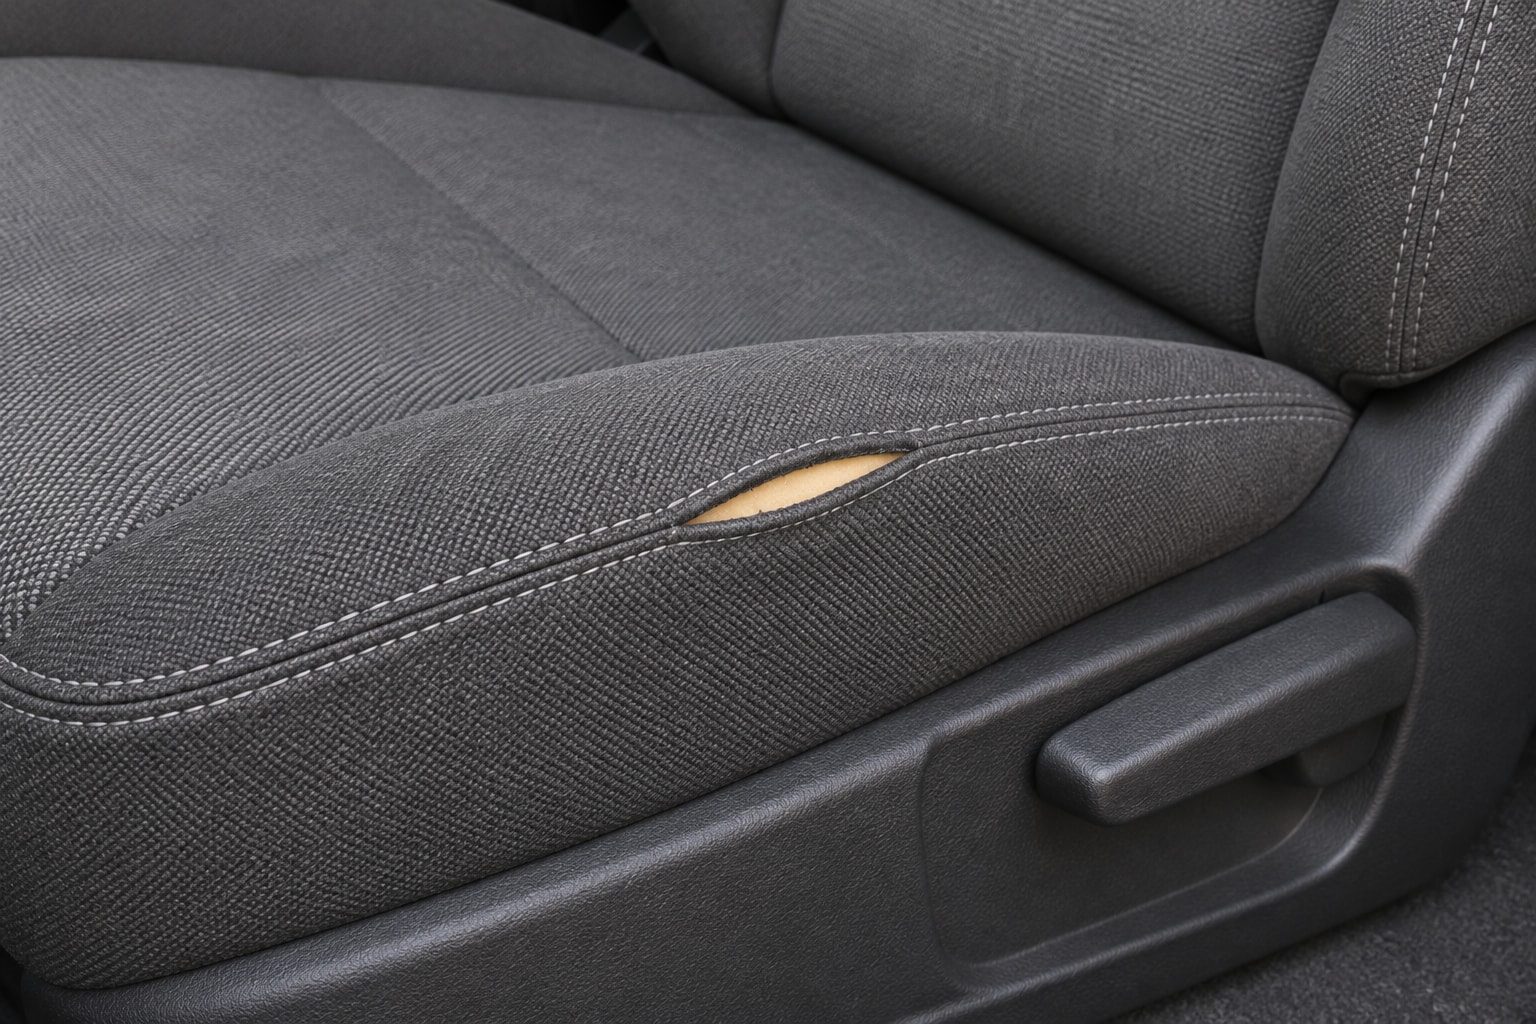
Move close enough to show the affected seam or material, while leaving some sound upholstery in the frame. That context helps explain the extent of the issue.
Add the useful details you can reach
A side, back or underside view can help explain how a piece is constructed, provided it is safely accessible. There is no need to dismantle furniture, remove vehicle seats or disturb fittings for a first inquiry. Include approximate furniture or removable-cushion dimensions and the number of pieces. For a car or motorcycle, give the year, make and model instead. Keep license plates, personal paperwork and other identifying information out of your images.
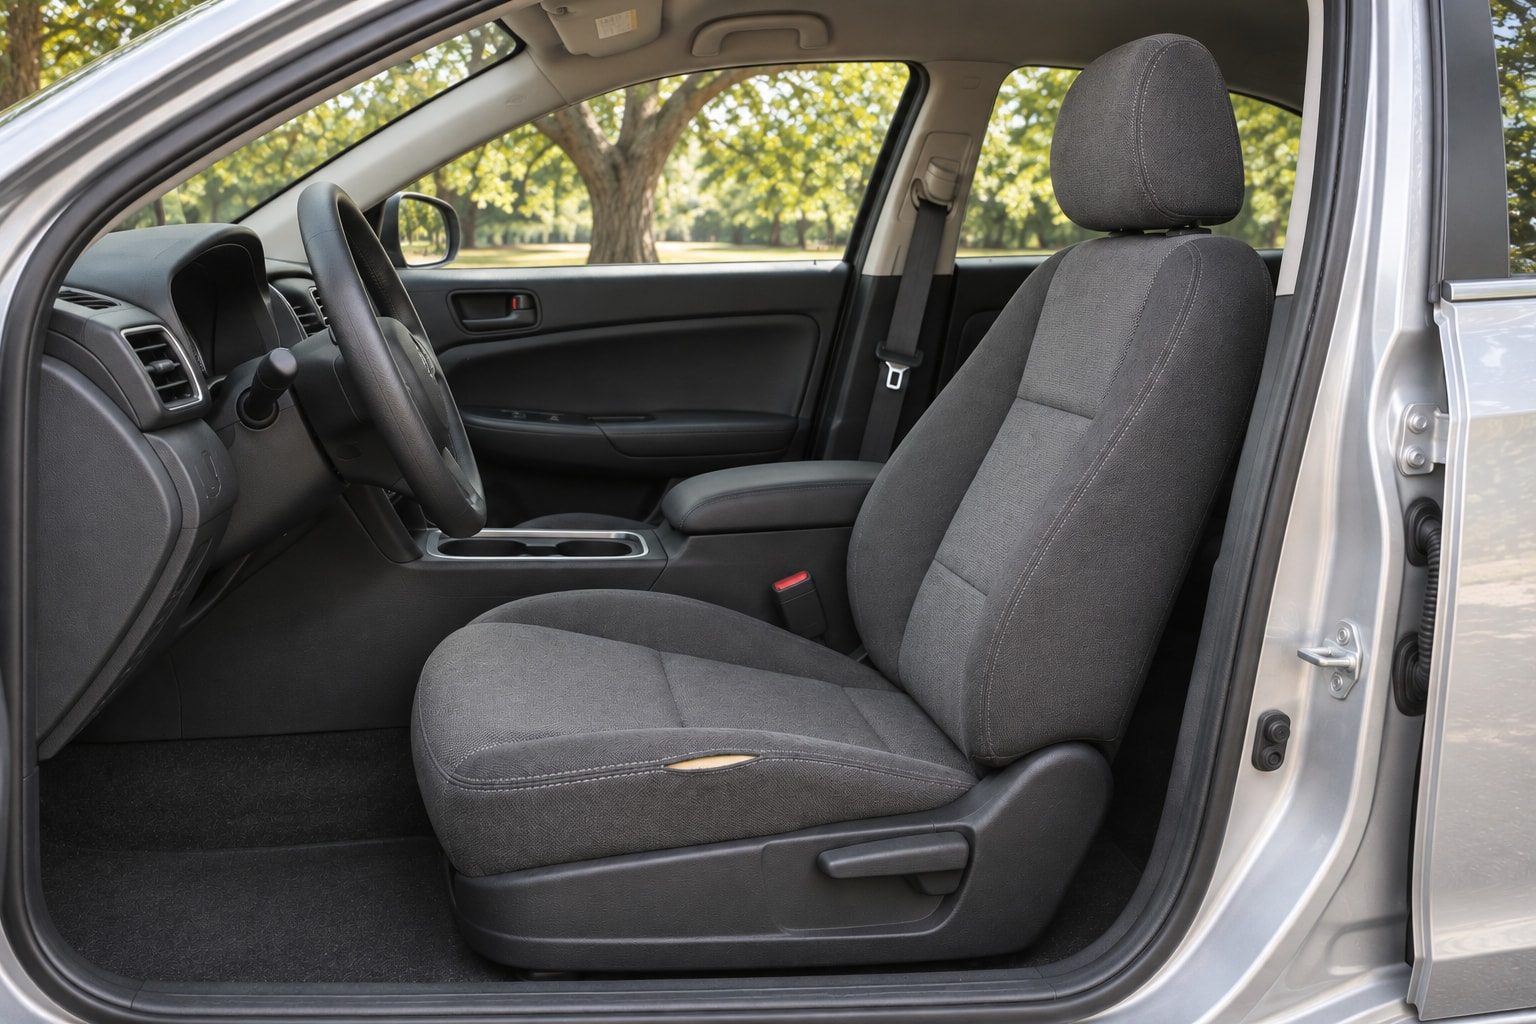
A reachable side view can show the cushion’s profile and how it meets the seat base. Keep the seat installed; there is no need to remove it or disturb its fittings for a first inquiry.
Describe the change, in your own words
Say whether you want a localized repair, a similar appearance, a new material or a different overall look. Mention comfort concerns, visible moisture damage or earlier repairs you know about. A reference image can help explain a style, but distinguish it from photos of your own piece. Add practical constraints or a desired date without assuming availability. The aim is a clear starting brief; photos alone may not reveal all of the work required.
Common questions.
How many photos should I take?
Start with one overall view, one useful second angle and close-ups of each distinct issue. Add more only when they reveal something different, such as another cushion or the back of a chair.
Will photos provide everything needed for a final estimate?
Not always. They help describe the project, but hidden condition, material selection and construction details may require further discussion or an in-person assessment before the scope and price can be established.